PERSONAL PROJECTS
Corn Hole Boards
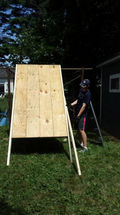
Project Description: During the summer of 2022 I wanted to make a fun yard game for the family. Using the design dimensions form Corn Hole Boards I used 2x4's and drywall screws I already had and purchased a 4'x8' sheet of plywood from Home Depot and extra hardware for the legs from Ace Hardware.
Tools Used: Impact Gun, Circular Saw, Jig Saw, Sanding Block, Tape Measure, Compass
Potential Areas for Future Improvement: Paint, stain, or protect the wood with a polymer, this will also help the bags slide easier.
Ski Holder for 6ft Toyota Tacoma Bed
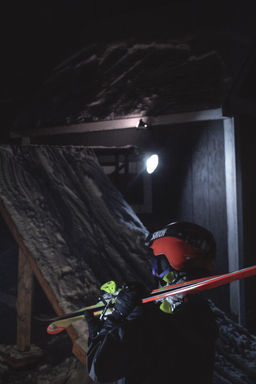
Project Description: During the summer of 2021, my family leased out a Toyota Tacoma. The first thing I though about was ski trips, and how the skis could slide around in the truck bed and get damaged. The goal of my design was to be easy to remove, lightweight, and sturdy. Firstly, I gathered dimensions of the truck bed, because I thought the wheel wells might cause problems. After gathering dimensions, I looked online for inspiration and drew up a design. A major consideration was how each of the varying sized skis our family owned could fit in this holder. This was an important because each ski's camber/rocker profile varies and where the tips and tail touch is ideally where you want the skis to drop into the slot.
Once my design was complete I built the structure with left over 2x4's and drywall screws. I then test fit the holders in the truck to make sure dimensions were right and that they lock into place via pressure into the sides. Once this was complete I got all the skis from the basement and started laying them to figure out the actual distance between slots. I then used jig saws, rotary tools, and circular saws to notch the wood. I had to be careful not to notch to far, otherwise the the holder would lose structural integrity.
Tools Used: Impact Gun, Circular Saw, Jig Saw, Rotary Tool, Tape Measure
Potential Areas for Future Improvement: Make the notches wider and put foam in the notch so it's a softer fit for the skis.
Easy to Move Skate Box
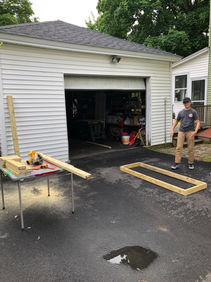
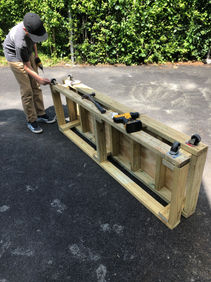
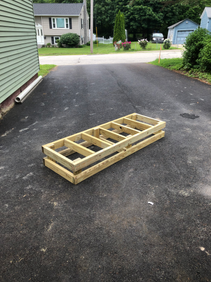
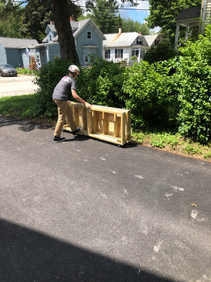
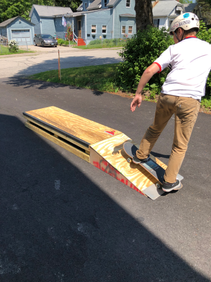
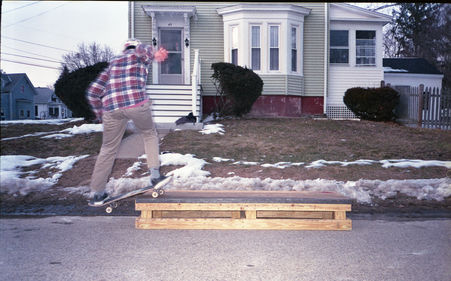
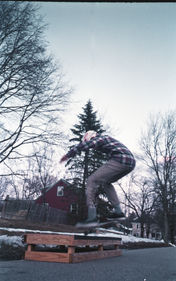
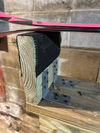
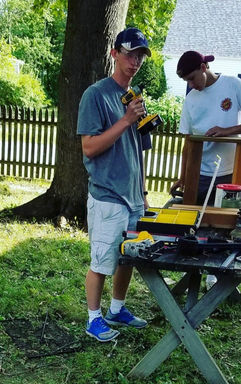
Project Description: This is a project I completed with my brother (Ethan). He is really into skateboarding and wanted to build a box feature for at home, this way he wouldn't have bike or ask for a ride to the skatepark all the time. Using a design he found online from DIY Skate we adjusted the dimensions to the size he wanted and would work with where we could store it. We went to Home Depot and bought the extra materials we needed, like angle iron, some 2x4's and plywood and began building.
Tools Used: Impact Gun, Drill, Circular Saw, Tape Measure.
Ski Tuning Stand
Project Description: With my love for skiing continuously growing and the cost to ski continuously increasing I wanted to reduce my costs by tuning my own skis. Using leftover wooden sawhorse frames, a 2x10, angle brackets, and drawer liner. Taking into account the varying skis sizes I figured out the spacing for the rests which would hold up the skis when tuning the skis. I used drawer liner so the wood wouldn't damage the skis top sheets (graphics).
Tools Used: Impact Gun, Circular Saw, Hammer, and Tape Measure
Potential Areas for Future Improvement: Notch the holders so when tuning the edges I don't need to hold the ski with my hand on edge or balance it on the edge of the holders. Make a place to hold one ski and let the hot wax cool.
Backyard Ski Ramp
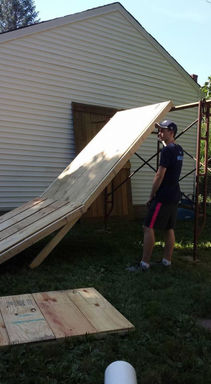
Project Description: During the summer of 2016 I used the little money I had in my savings account to design and build a ski ramp with terrain park features that could be used 365 days per year. I started by skiing off my porch and used leftover materials in my garage to build a few features (rails and boxes). When I wasn't skiing or at school I would watch hundreds of ski videos of people at big mountains and skiing in their backyard. My love for skiing grew to the point where I wanted to design and build a structure that could be used 365 days of the year and have an easy deconstruction process.
Researching online, reading ski forums, and looking at ramps on youtube, and having knowledge of available resources (like scaffold, extra plywood, and pressure treated wood) I was able to design and run cost analysis for a 365 day use ski ramp with high fun ROI. With help from Mom driving me to Home Depot I was able to purchase the necessary 2x4's, 2x6's, plywood, pvc pipe, fasteners, and turf. I used a singular set of scaffold as the base for the platform which was easier and cheaper than building a more permanent structure. The scaffold required less design work while still providing the necessary height and strength to hold large amounts of weight coming from the platform, the attached ramp, and a person standing on top.
Using concepts from math class like slope I was able to design a ramp with multiple slopes to decrease the overall footprint and make the transitions smoother while allowing users to keep speed higher. To make sure the ramps sat flush with the top of the platform (so I wouldn't damage my skis), I used door hinges to attach the ramp to the platform. To make the rail and box features I used pvc pipe to act as the rail, which is a cheap and easier to work with than metal. Using PVC prevents damage to the bottom of skis and riders can slide easily along it in similar ways to rails at ski resorts. The final step was stapling turf on top of all the surfaces I would be skiing across (besides the pvc). Turf was laid on top of the plywood because skis can slide across it easily without causing damage. And in fall, spring, and winter when there isn't snow, just put some environmentally friendly dish soap on the ramp and spray the turf with water to make riders drop in faster and maintain momentum.
Tools Used: Impact Gun, Drill, Circular Saw, Industrial Stapler, Level, and Measuring Tape
Ski Benches
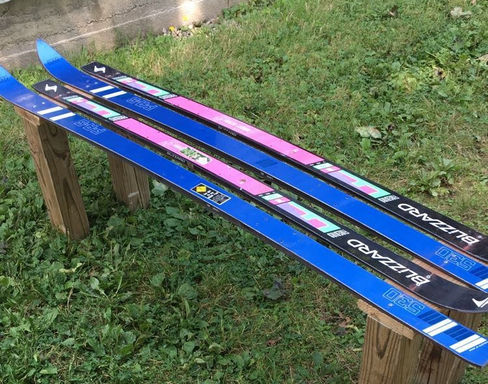
Project Description: Using old skis and free skis from the side of the road I built multiple ski benches. After removing the bindings and hardware from the skis I used a simple leg design that only required the skis to be mounted to the top. This was a fun, easy to make, and cool piece of furniture to have. The large one stayed outside, but using old kids skis I made one small enough to go at the end of a bed.
Tools Used: Impact Gun, Drill, Circular Saw, Angle Grinder, Circular Sander, and Measuring Tape


